Showing posts with label crafty. Show all posts

Wednesday, February 1, 2012

Estate Sale Find

If you remember all the way back to my Craft List, the last item (and favorite item) was taking old, used, vintage pieces of furniture and refurbishing them.

A couple sundays ago, my friend Elisa, mama and I went to an estate sale in our neighborhood. First off, I'd like to note that estate sales are a little weird. wasn't a fan.... EXCEPT that I found this little treasure for 1$. 


And now, after a couple weeks of this smoky smelling stool sitting in my bedroom, it was time to revamp!

First things first... unscrew the legs and take off the gross leather!


 Now, to start my project!


I needed new cushion for my stool and found some cut up egg crate in my basement. I doubled that up and cut it to the exact shape of the wooden piece.  For extra added cushion I stuffed some pillow fluff in between the two egg crates... the more the merrier.

My mom had found some fabric she liked online and bought a yard or two of it. She wasn't sure what she was gonna use it on, so she let me use some for this stool (can't go wrong with free). It just so happens to go perfectly with my decorations!

She also had some left over piping she had used on outdoor furniture last year. Grabbed a hold of that for around the stool.

So... goes to my next step... Cut out your pieces. 


I started off by making the piping and sewn the edges of the top piece, piping and edging together so when turned complete, it fit around the stool. 


Once I had that sewn together, I took the legs of my stool. They are wooden and painted black with a metal piece at the bottom. I slightly sanded the wooden part down to make the paint stay on longer and headed to home depot with some fabric.

They have a small 8 oz paint jar you can purchase that you can have matched to whatever color you'd like. I brought in a matching fabric that I had, that I'm going to incorporate into my room as well, that had a fun color in it. I had Pat from home depot make it my paint color. 

 Yes, I did this on my kitchen counter, hence the butter dish.


I applied about 4 coats of paint on the legs, wood and metal part, for it to look even. While those dried, I went back to my base with an automatic stapler, flipped it so the bottom was up, evenly stretched the fabric and stapled it to the bottom. Something about using a power tool makes me feel indestructible! (is an automatic stapler a power tool?)

Once the legs dried, I screwed them back on the stool and voila! Brand new stool!


 I only spent $1 on the stool and $3 on paint. Everything else I had available to me at home. 

$4 for a stool that perfectly matches my decorations, learned to reupholster, fun project to do for a night... Can't beat that!

  
{L}


Partying at A Bowl Full of Lemons


Saturday, January 28, 2012

Rug Update!

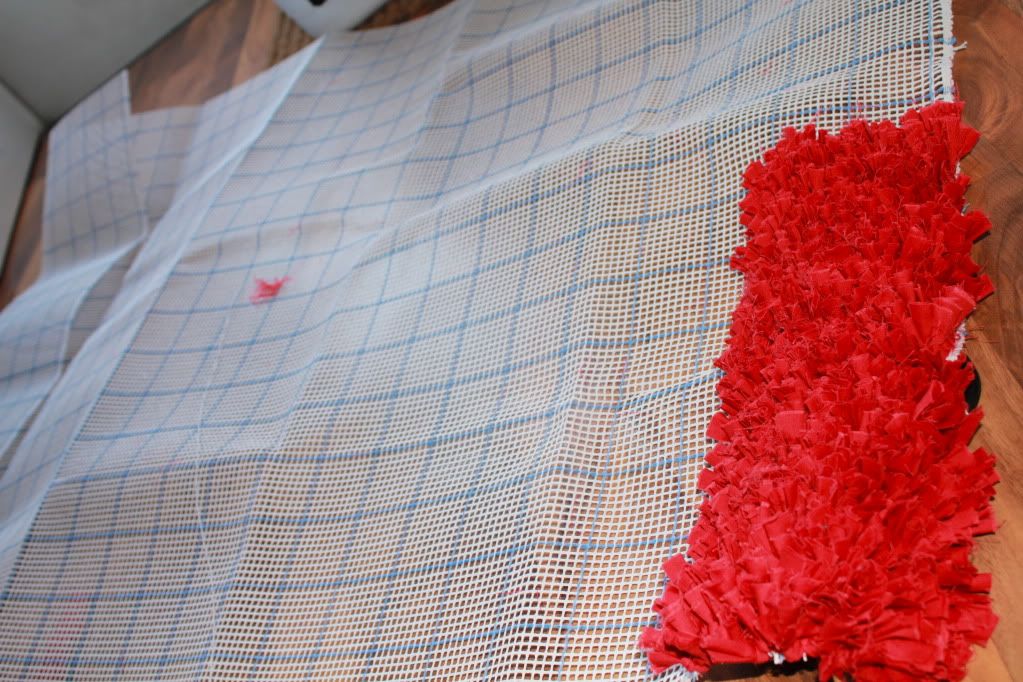
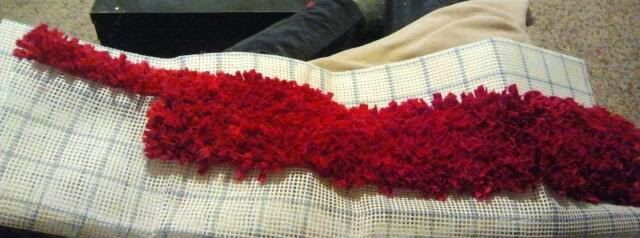
Well, here it is. My progress. It may not look like much, but there it is in all its glory. Respresenting a few hours.

via mobile
 I have at least reached side-to side. I am now nearing the end of my 6 yards of strips and in my opinion, it hasn't stretched as far as I would like it to. That's just the way the cookie has crumbled.

First snag in the project- I went to buy more fabric and they didn't have the right color. When I made my initial purchase, there were 3 bolts. Overjoyed, I had to decided that I would try again, just hoping they would get another shipment. I am nearing the end of my stash and may just have to be at an unfortunate stand still.

On a brighter note, I purchased an extra latch hook hoping I could snag an unsuspecting crafter victim to help me. No real interests except for my kind-hearted mother. I am hoping I have warned her enough to the tedious-ness that this project entails. I may make its sound like a terrible beast, but in all reality, when you get into a rhythm it's quite a satifying project. So if you're interested.... :)

I keep thinking about it being finished, and how great it will look. For now, it's my ultimate motivation.

{S}

Monday, January 23, 2012

Weekend Sweater Pillow

I have always admired knitted throw pillow covers, and always wanted to make one. With too many projects, and too little time, I opted for a different option than knitting my own. I thought I would used an old sweater.

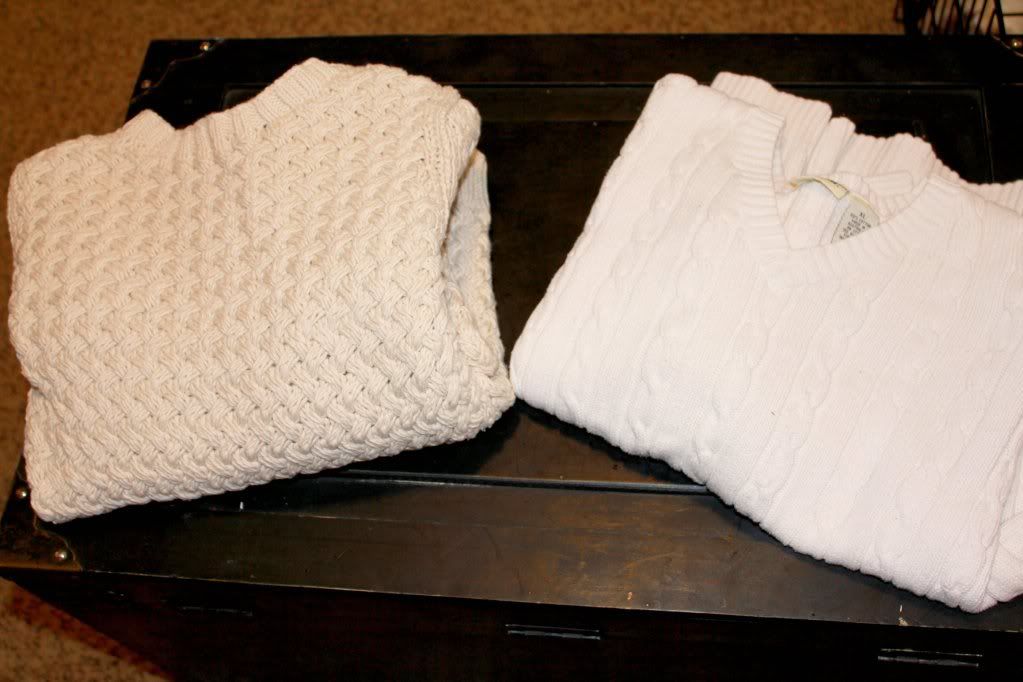
I took a trip to Savers and found two sweater that would work for the look I am going for.
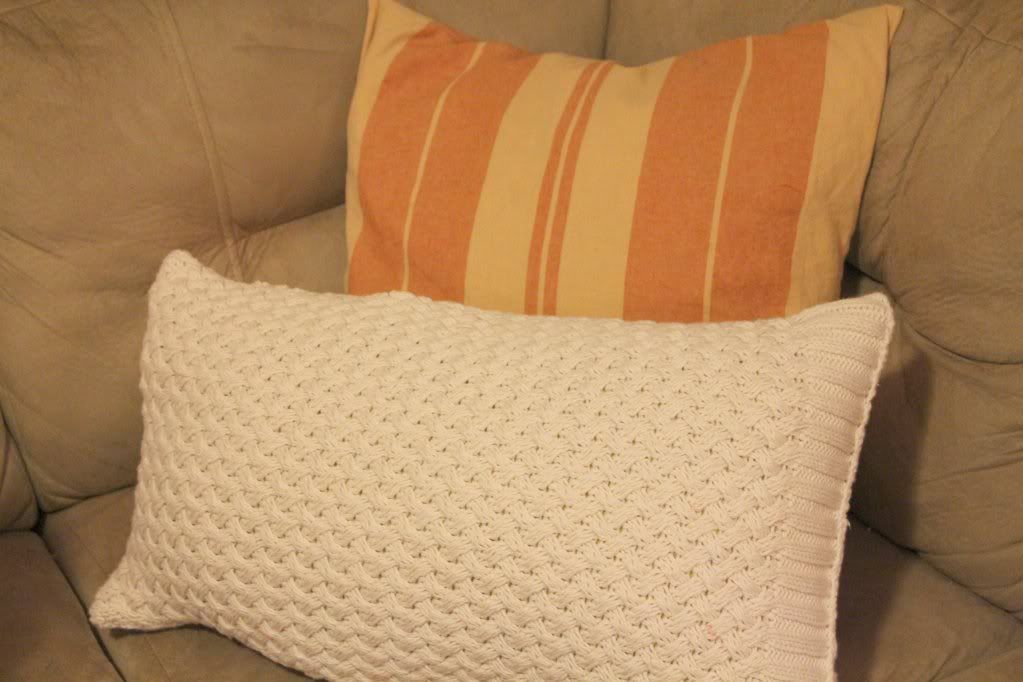
I would recommend using a men's large or extra large sweater, but I couldn't find any on that say that would work for me. I headed over to the ladies department and found these two. I am still debating on using the sweater on the right. The one on the left is size small, and just about completely unpractical for this project. But, I fell in love. I thought the pattern was like nothing I have seen and thought it would be awesome for a pillow cover. I also spend more than I would have liked to... This sweater would only work for a smaller oblong pillow due to its small size.

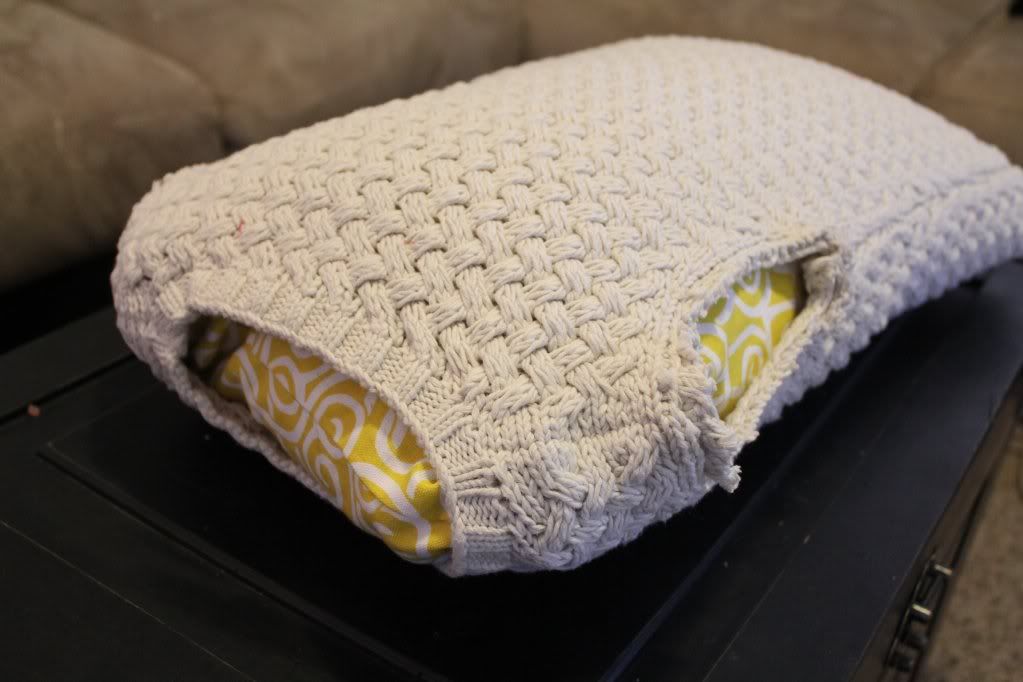
I cut off the arms on the OUTSIDE of the seam to help prevent the sweater from fraying. I then fitted the sweater onto the pillow. This is the neck and arm side.
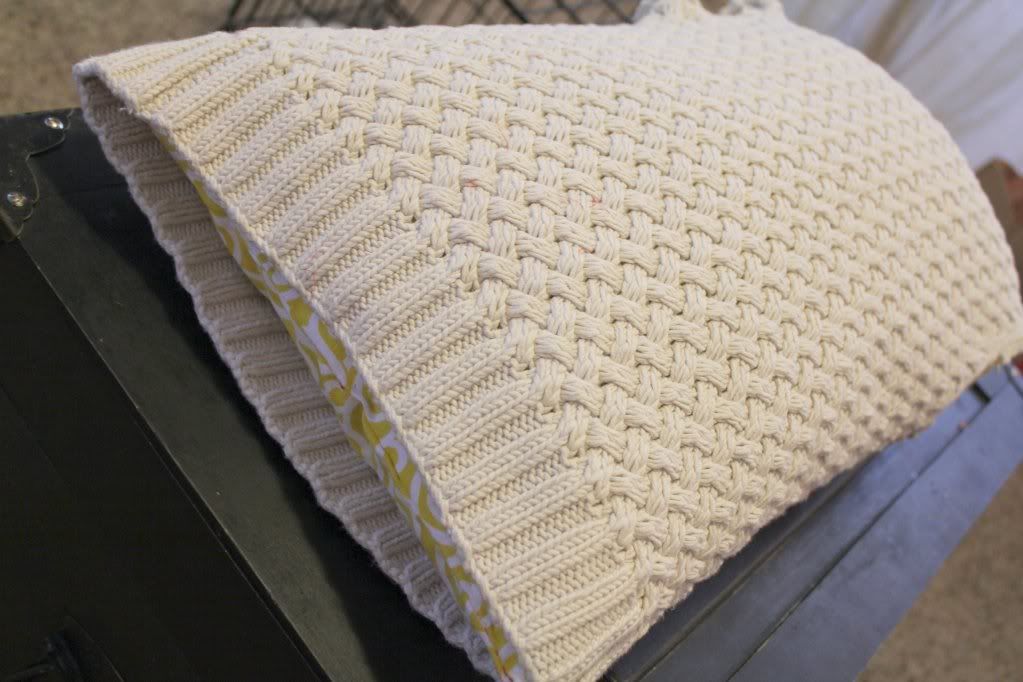
Here is the bottom of the sweater. If the sweater was a little longer, I would have sewn it together above the ribbing on this side. I would have loved having 3 big wooden buttons as an accent, but space unfortunately didn't allow!
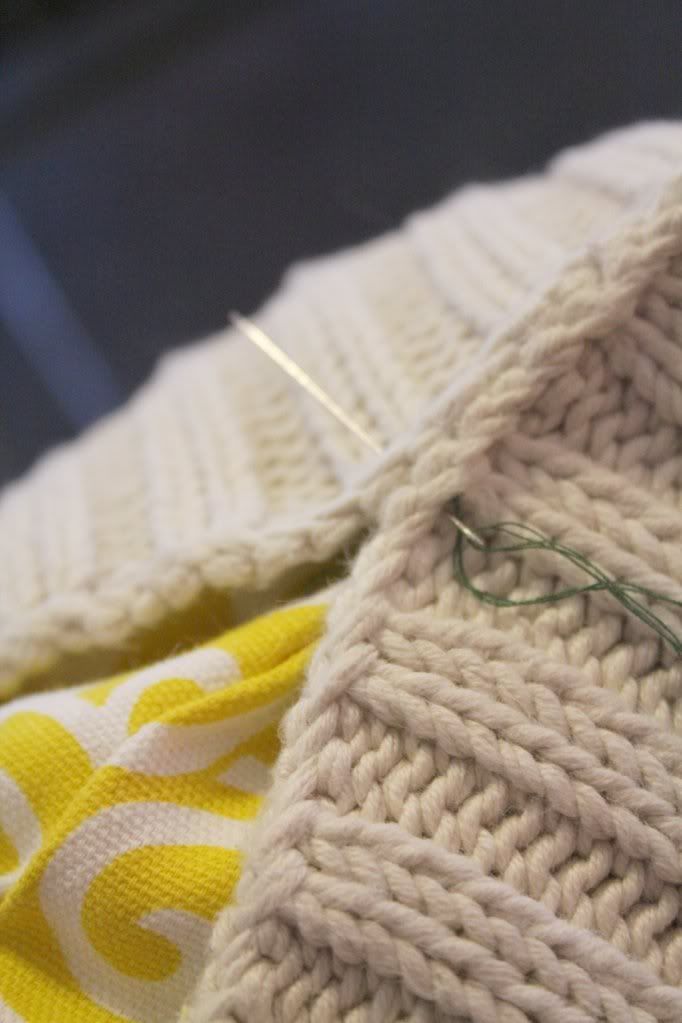
I had to sew by hand. It gave me a little more maneuvering power, plus my sewing machine wouldn't have made it through the thick fabric. It surprisingly went fast, which is a big plus.

And here it is... finished!

Since I put it down and took a picture the moment I finished, I had not yet fixed out the lumps and bumps. It will need a little reshaping. Overall, very happy! Now I can change out my winter pillows with my summer for added season decorating excitement.  Ah, the simple joys in the life.

Cheers to short projects done in a day.

{S}

Wednesday, January 18, 2012

The start of many projects...

My name is Lindsay and I'm a Pinterest addict. 

And so this blog begins... Breaking Wine Bottles.

Here's what you'll need:

1. Wine Bottle(s). The lighter the color bottle the easier it will break. 
2. Acetone. or nail polish remover with acetone in it.
3. Yarn. Color does not matter. 
4. lighter
5. Dremel (optional)
6. Diamond bits for glass cutting (optional)
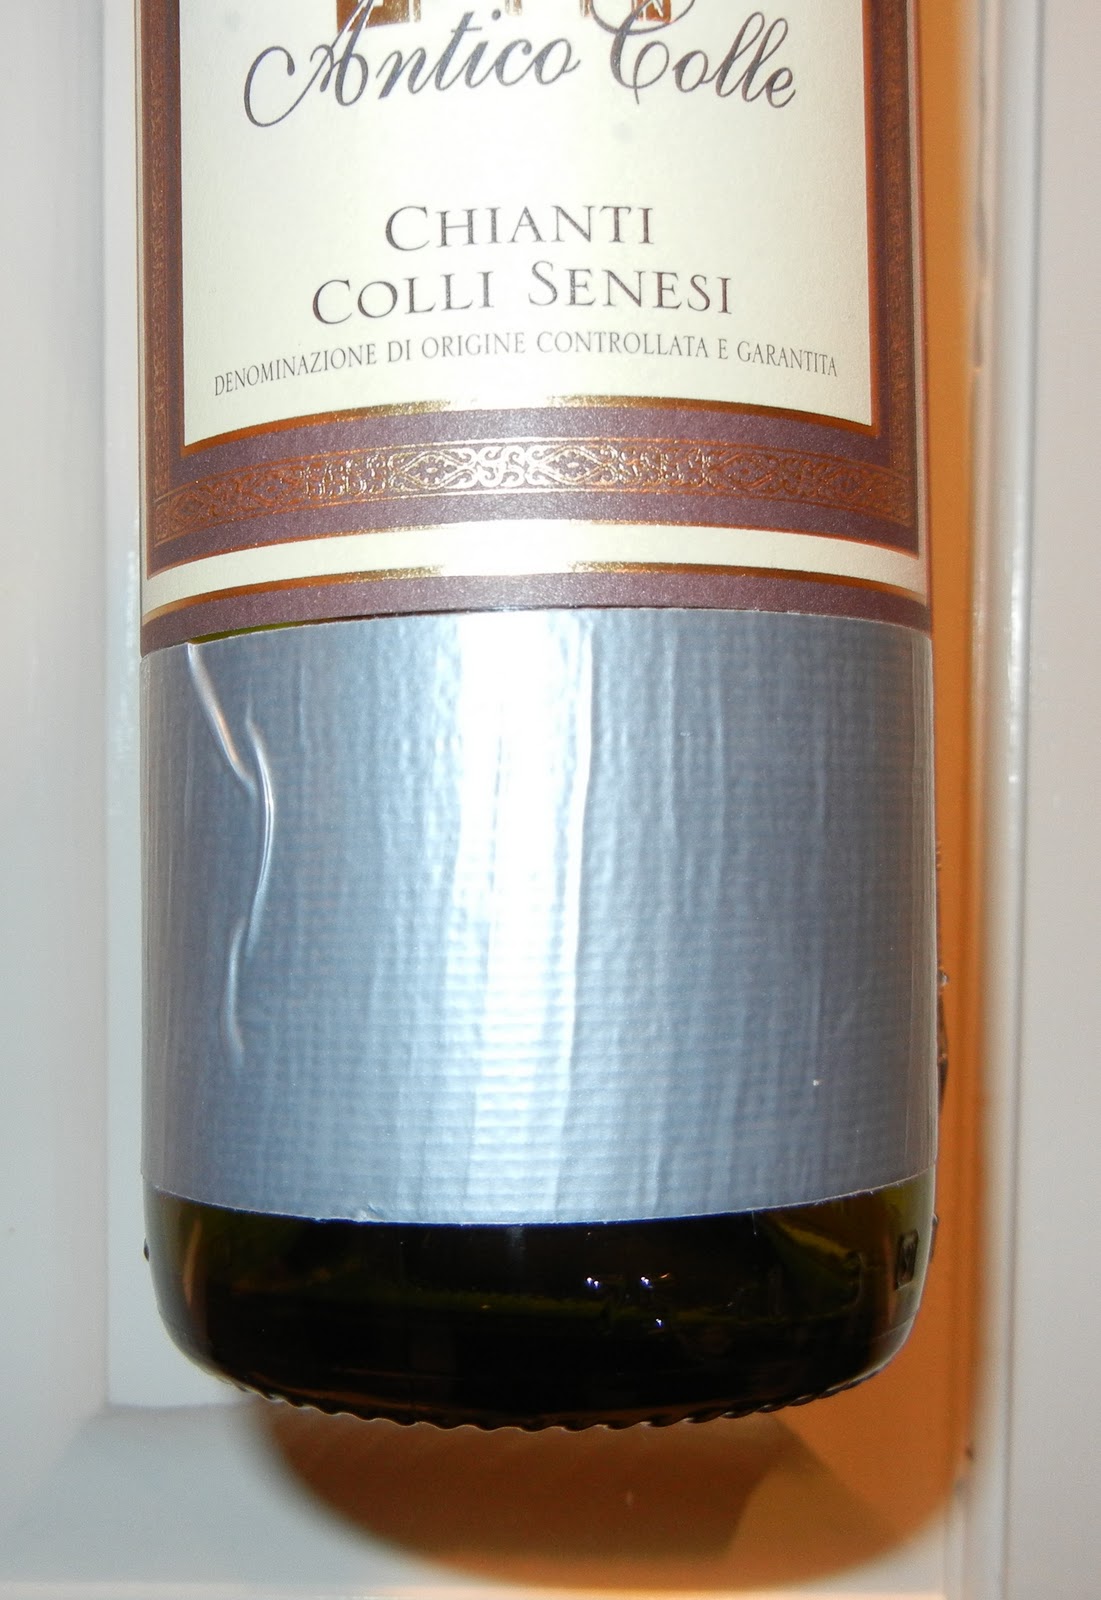
7. duct tape (optional)


Getting Started...

(Optional)I would do this part if your bottle isn't breaking with just the yarn. 

Take the duct tape and using the straight edge, wrap around the bottle where you want to mark with the dremel.


Now, I put on glasses and a face mask to prevent from any glass shards attacking my face. Even though you just want to mark it with the dremel, safety still comes first. 

Using the dremel with a diamond bit in, trace your straight edge from the duct tape, around the bottle. 

Up until now, Id say is optional. I would try this next part first to see if your bottle breaks without having to dremel. The lighter the color bottle the easier it will break. 

Take the yarn and TIGHTLY wrap it around the bottle about 3-5 times where you want the bottle to break. Cutting off the loose ends once knotted.

Slide yarn off bottle and dip in acetone.


Once yarn is soaked, slide back onto bottle where you want it broken (where your dremel mark was made)


I used my sink, you can use a bucket, but you need REALLY COLD WATER! Fill it up. 

I grabbed the bottle by the neck, held it so the bottom was higher than the neck to prevent from burning my hand (lets stray away from that). Take the lighter, holding the bottle over the water (again... safety measure) and light the acetone soaked yarn. 


Once lit, I took the bottle and kept rotating it so it would be equally heated all the way around (not sure if it made a difference). Once you notice that the flame starts to go out, dunk it in the cold water. You should hopefully hear a cracking noise and see the bottom of the bottle break off nice and fairly smooth. 


IF, by chance, it does not break off, wipe the bottle off, take the yarn off and try it again. Having the bottle go from hot to cold so quickly is what makes the bottle break. More times you do it, closer your getting to it breaking. 

Almost done!
The edges are going to be sharp and whatever your project, It might be best to smooth those out. So, off to home depot I went. 

Now, I'm not sure about you but the second I walk into home depot or menards my mind goes into a flurry and I suddenly go into slight panick attack mood cause I have no idea where to go... Guess that's how a guy feels when walking into a salon or Victoria Secret. Thankfully, Home depot always gives such excellent customer service that I was able to get in and get out of there as soon as i could, taking with me...


This was about $2 for a huge roll and i didn't even use a lot of it on 6 bottles. I would prefer this over basic sandpaper because this is a cloth, so the sharp edges aren't going to cut right through it. 

Take this, sand those edges, rounding them out enough so you don't cut yourself or others. 


For a nice finishing touch, I took an exact-o knife and cleaned up the edges of the neck. 


Sorry this image is so blurry.

I'm not sure about you but this opens up a whole new world of projects!

So, have fun, be safe, and stay tuned for my next project. Bet you can't guess what I'm going to use.


P.s. I did not drink all the wine out of these before cutting them. 

It helps knowing someone who works at a restaurant where they are just going to recycle them anyways!    
{L}


Monday, January 16, 2012

Nursery: The Art

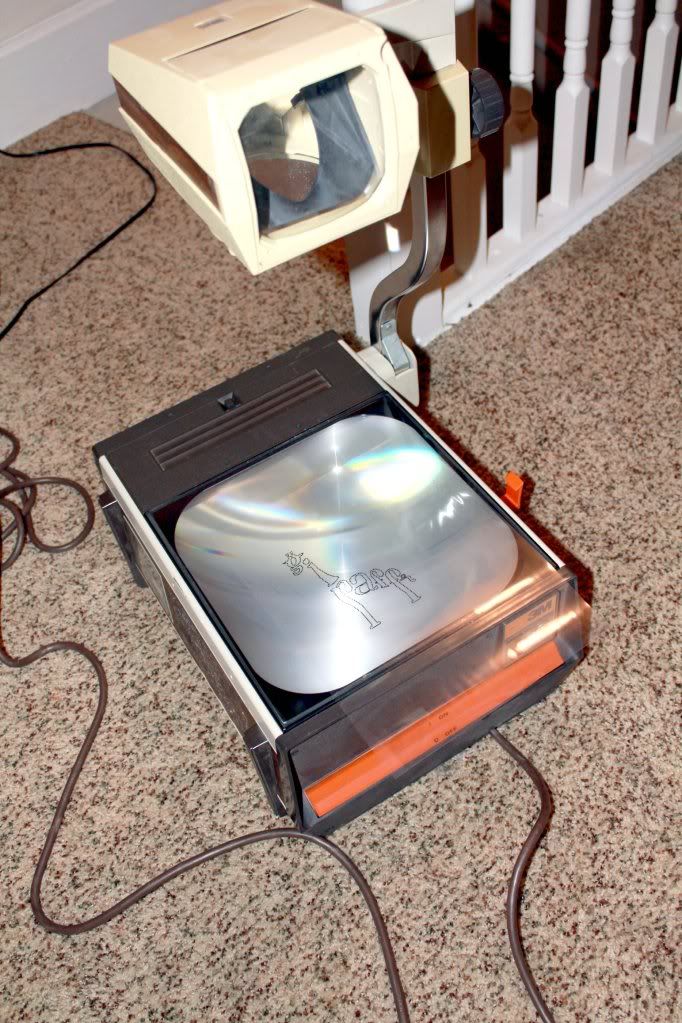
I can't draw, I can't paint. It really makes me sad when I think about it. It is a talented I have always coveted. BUT, I found a way around it. Enter once again, the over head projector.
Isn't it a beaut?

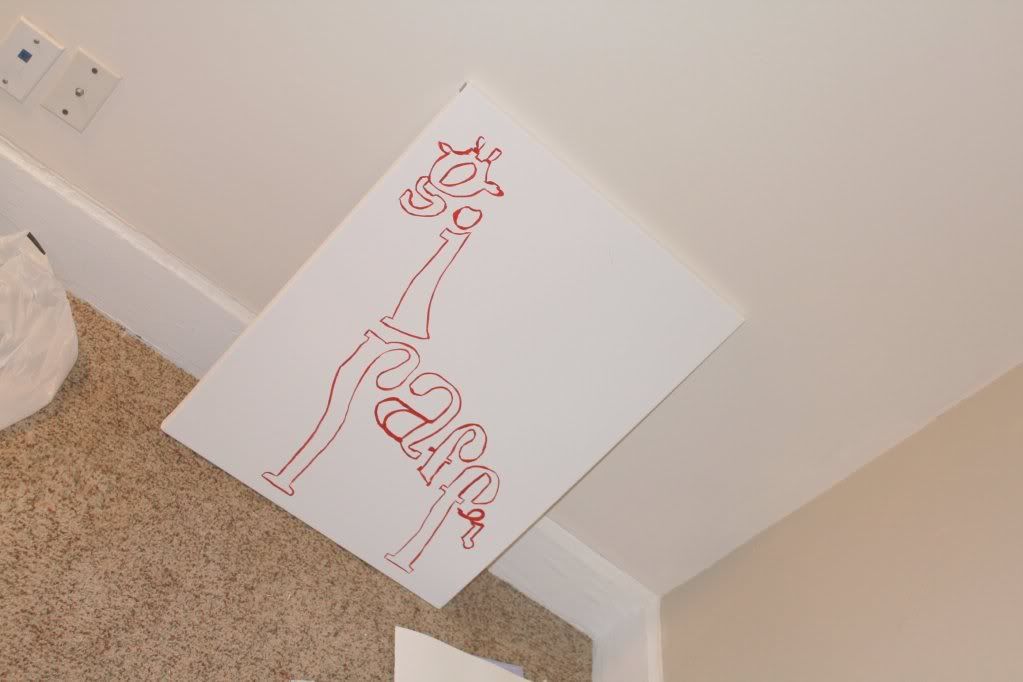
I found an image I liked on google, printed it out on a clear transparency sheet, and projected it onto my canvas.


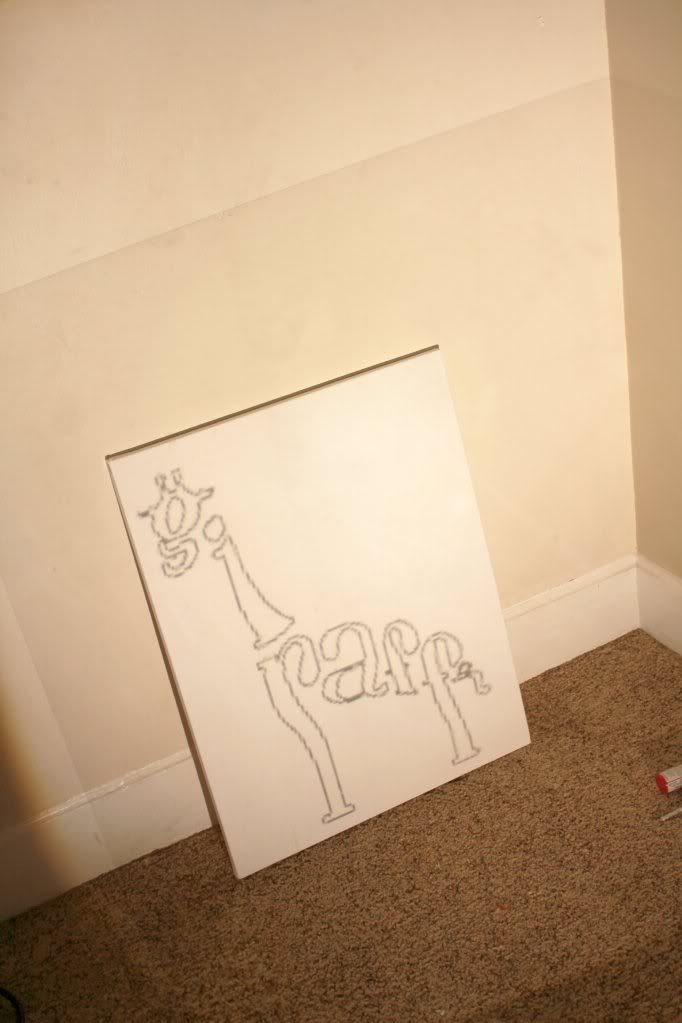
I then began to trace the lines. I found sale acrylic paint at Micheal's Arts & Crafts, Americana brand only 77 cents!


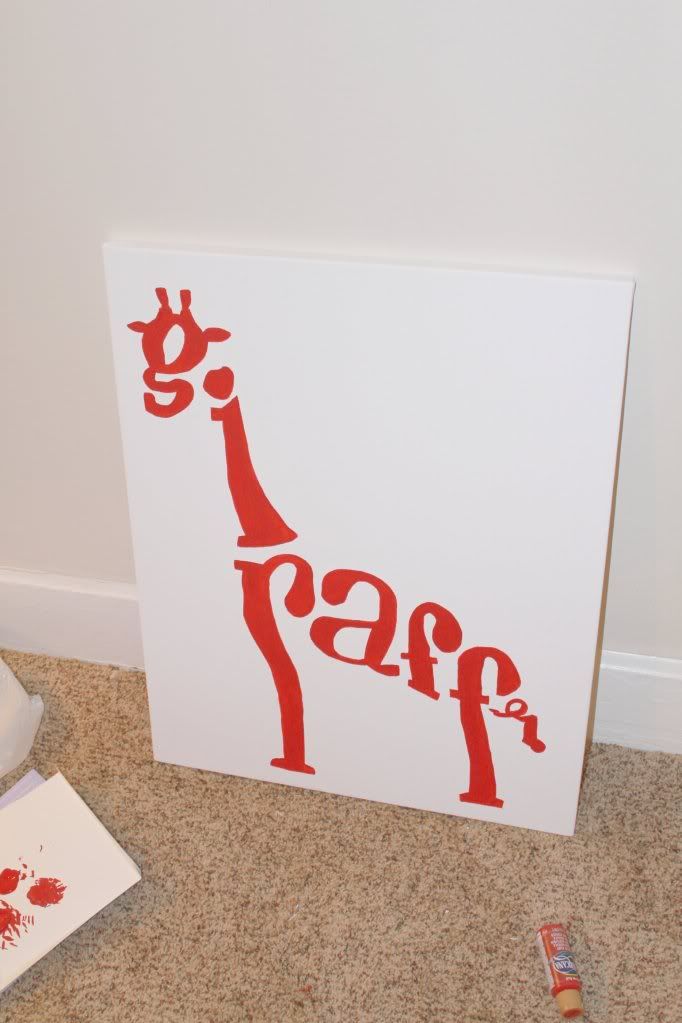
I then turned off the overhead projector, and began to fill in the lines.


You will have to check back when I do a nursery reveal- the canvas looks great above my changing table. I plan on doing this art project once again above the crib. This is my absolute favorite way to decorate my walls on an extrememly tight budget- plus the options are endless!

{S}

Partying here!

Tuesday, January 10, 2012

Nursery: The Rug

In my post Accomplished, I mentioned the project that I am working on for the nursery. Here it is!

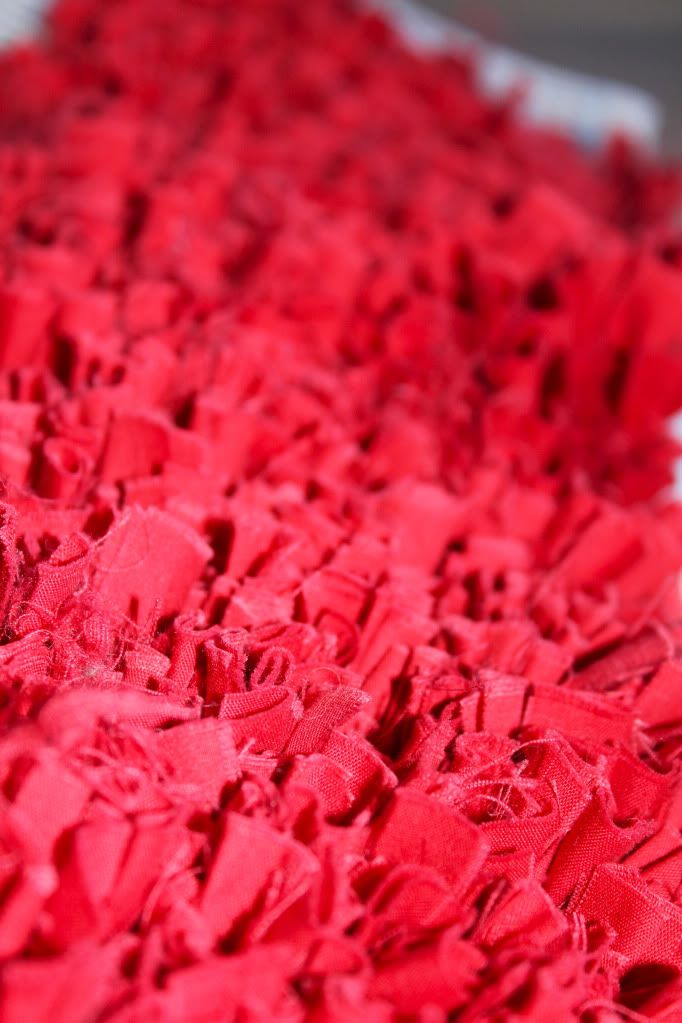
I have had my eye on making this rug for quite some time. It is a mock DIY Flokati Rug. I thought it would be the perfect addition to the nursery. I had to put a hold on starting it until I knew what the gender of the baby was. It will honestly take me forever, but so far I am so happy with the results.

See the tutorial at Xoelle Here.

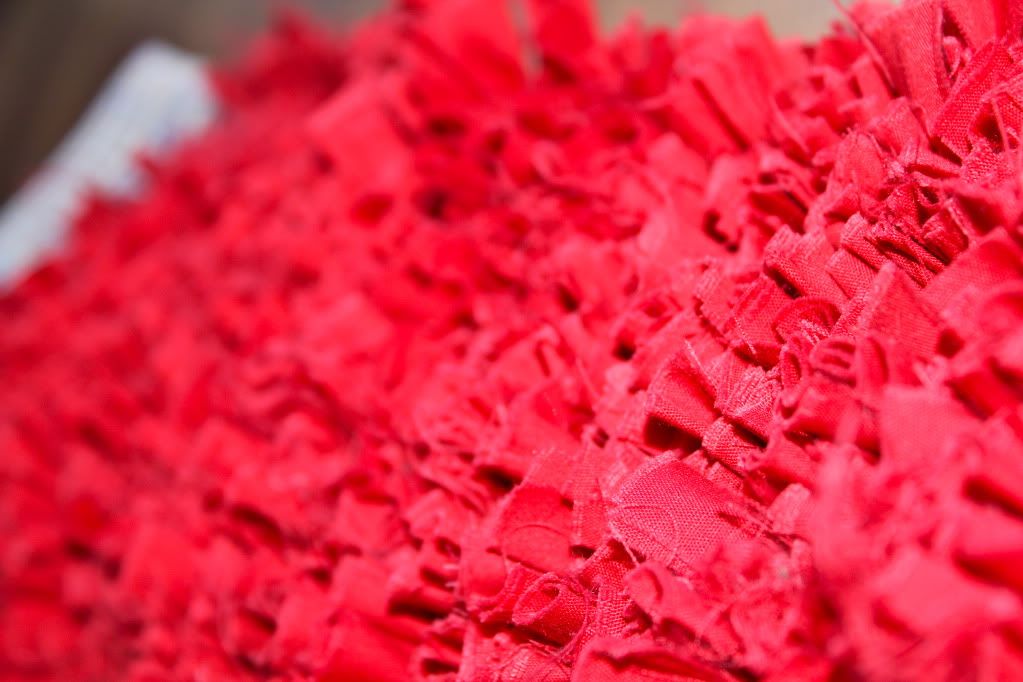
She uses t-shirts that are dyed to her desired color. I thought I would like a little different of a look than hers. And because I was NOT up to the challenge of looking around for used t-shirts, I decided a cheap cotton fabric with a coupon was a great option for me. It also eliminated the step of dying the fabric. I also like that the fabric does not curl. The only thing I would say negative, is that the thinner you cut it the better, and be ready for shedding and fraying thread. I love the look of it, but it gets messy, just to keep in mind.

I cut a bazillion strips of fabric 1" x 4" and it wouldn't be a bad idea to cut them a little thinner like 3/4". They are thick going through the rug canvas.

It's a very fun project and I highly recommend it... as long as you are willing to put the time in to it and are not expecting to finish it quickly!


I am looking forward to working on this project over the next few months. I love handmade details in my home. It's as if I will be putting a piece of me in my son's room. The race is on to finish it in the next 3 or so months!

I will have a picture update of my progress until it is finished. I hope you don't mind seeing my progress. I will be needing the encouragement and the accountability to finish this one! I have a long way to go...


{S}

Partying at A Bowl Full of Lemons! and
Home Stories A2Z

Friday, August 12, 2011

My Recent Work

Maybe you remember from this post  that my mom and I are starting an Esty Shop. We are hoping to launch sometime this fall.

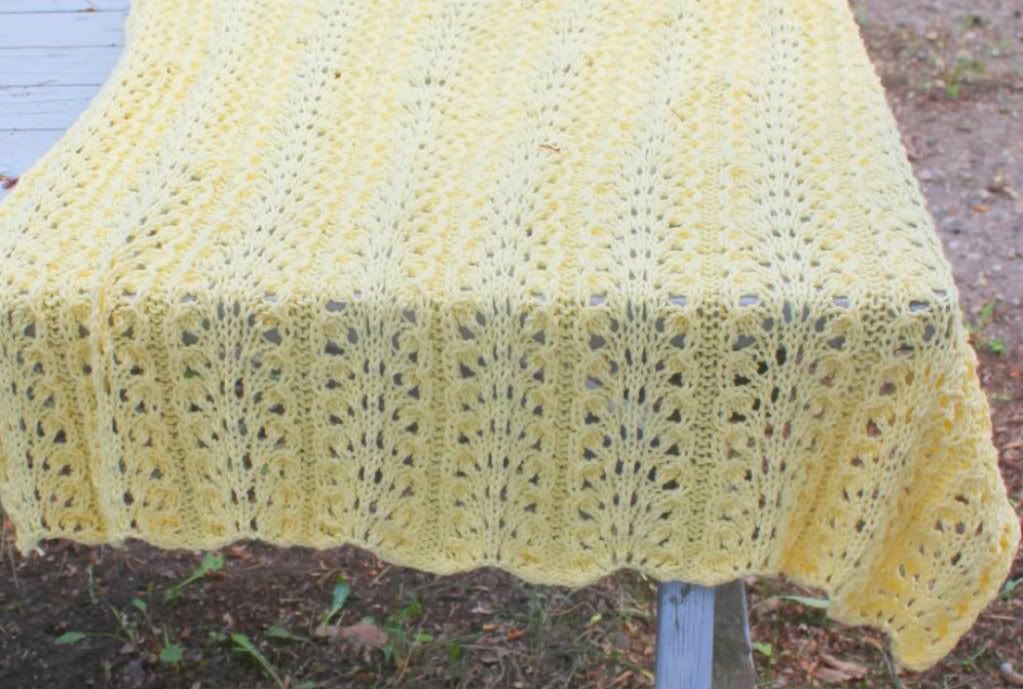
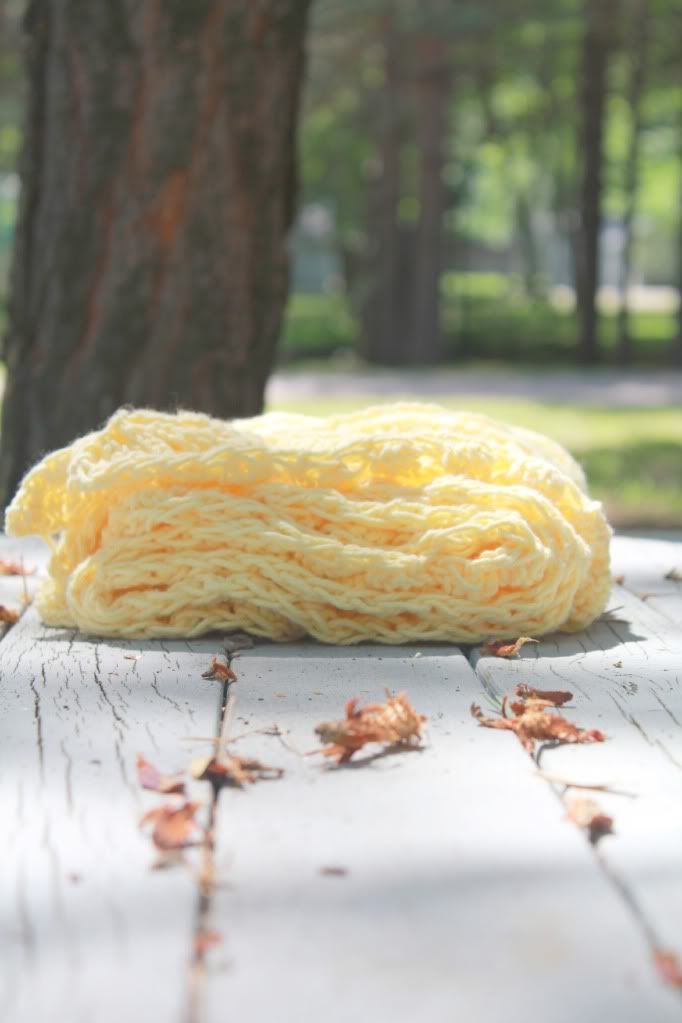
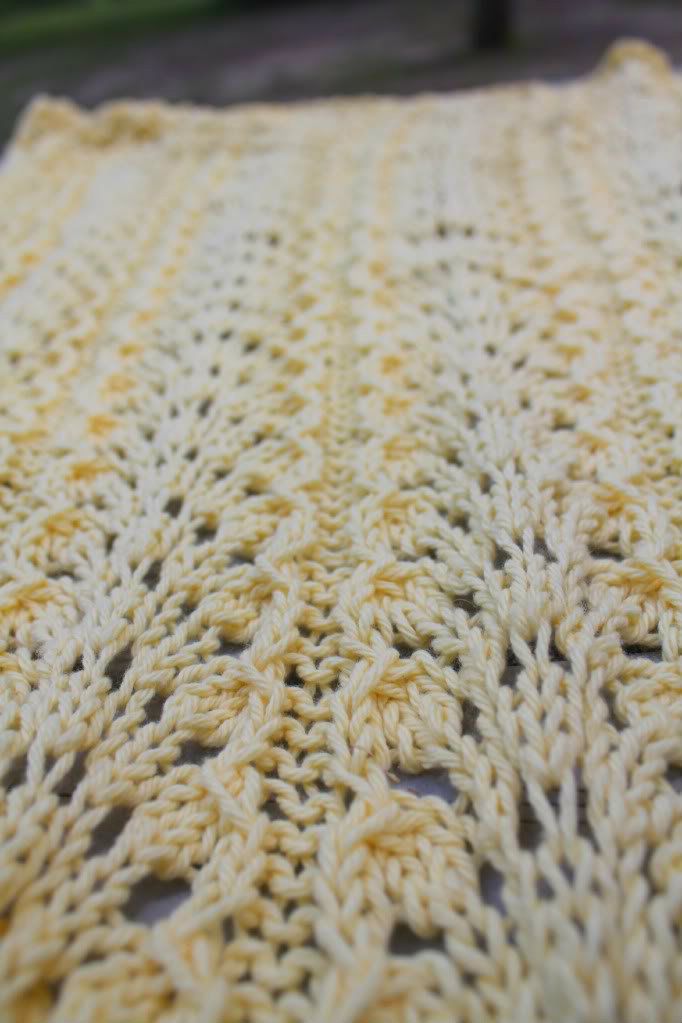
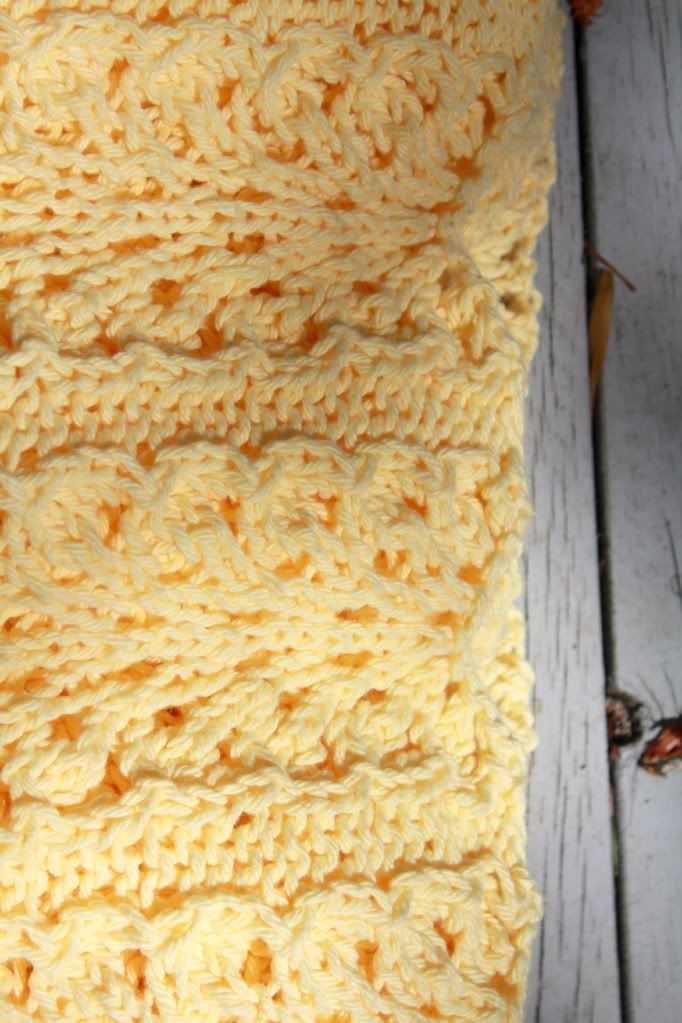
For a little preview, here is one of my baby blankets that we will be selling. I hope you like!


Included in our items will be blankets, legwarmers, and sweaters- all for your precious little ones!

Keep checking back for more updates!

{S}


Monday, August 8, 2011

Lash.

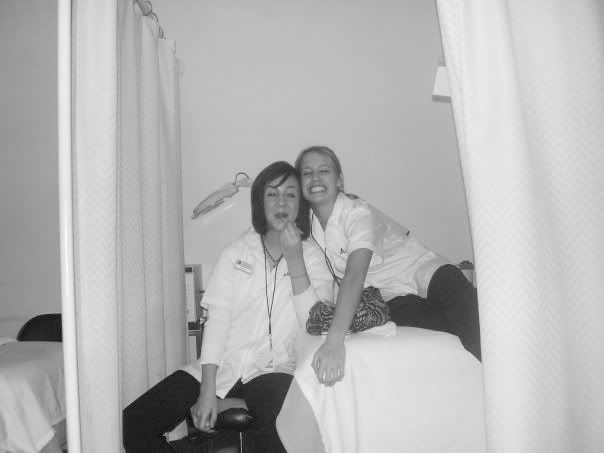
In honor of Lindsay starting at Aveda this last month, I wanted to revisit my time there. I had a lot of fun, learned a lot, and made some amazing friends.

Went in an 18 year old, came out an Esthetician.

I'm looking at these very few pictures I have wondering, Why can't I even take one picture with a normal face? Oh yea, this is the 18 year old sanguine.

And we did learn and work while we were there, I promise!

I didn't understand then, but I know now. Aveda is a cut above the rest. They taught us things other schools don't even address. It was a priveledge to be able to go there. Lindsay, soak up every minute.

After graduating Aveda in 2006, I began at this salon working front desk.

It's in the mall of america- come check it out!
A couple years later, I was able to move into an esthetician position. Facials and waxing were my passion! They still are, but now, I have a speciality.

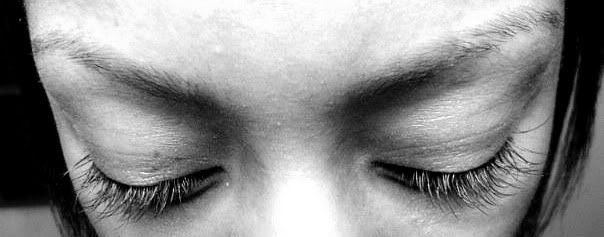
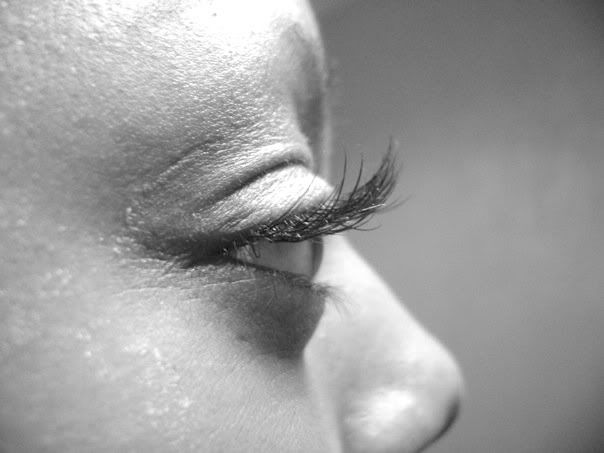
I do eyelashes. Novalash Lash Extensions to be exact.
This beautiful bride, Ashlee, came to see me before her big day. These are my handiwork! Justin is extemely talented as well, check out his website! (Thanks again Justin and Ashlee for letting me use this photo!)

I love doing eyelash extensions. They are tedious and wonderful. They are an art- and I have fallen in love with it. I can't believe I have already been doing them for two years.


Thanks to my beautiful friend, Robyn for being my model.

What on earth does this have to do with Monday's? (If you're stopping by from Life Made Lovely Mondays) Well, I will tell you.

I work at my salon on Monday Evenings. And these lashes are all things lovely. I also want to share something special with you.

Are you in Minnesota or the Twin Cities Metro Area? If you book with me in the month of September, I will offer you 25% percent off a full set of lashes. (A $50 value)

Here are the rules
- This is only valid towards a full set
- This is only valid for the month of September
- This offer is only valid Monday evenings with me, Sara Curran. There are some other wonderful, talented ladies that also do lash extensions at my salon, but their lashes will be regular priced.

How to book an appt:
- Call the salon. A friendly receptionist will take your call and arrange an appointment for you
 Progressions Salon & Spa 952.851.9999
Mall of America (1st floor next to Nordstrom)

There is no need to mention the discount when you make your appointment. When you arrive, be sure to mention this post to me. Your discount will be applied at checkout.

* I have limited hours, so if there are no openings left in September, send me an e-mail and we will work something out! (I will be offering another discount in the spring.)

We also offer many other services at the salon. Check out our website.
Want more information on the Lash Extensions or to see a salon in your area that provides this service, check out the NovaLash Website.

Linking up with:


Photobucket

Happy Monday! Hoping to see you on another lovely Monday.

{S}