


My name is Lindsay and I'm a Pinterest addict.
And so this blog begins... Breaking Wine Bottles.
Here's what you'll need:

1. Wine Bottle(s). The lighter the color bottle the easier it will break.
2. Acetone. or nail polish remover with acetone in it.
3. Yarn. Color does not matter.
4. lighter
5. Dremel (optional)
6. Diamond bits for glass cutting (optional)
7. duct tape (optional)
Getting Started...
(Optional)I would do this part if your bottle isn't breaking with just the yarn.
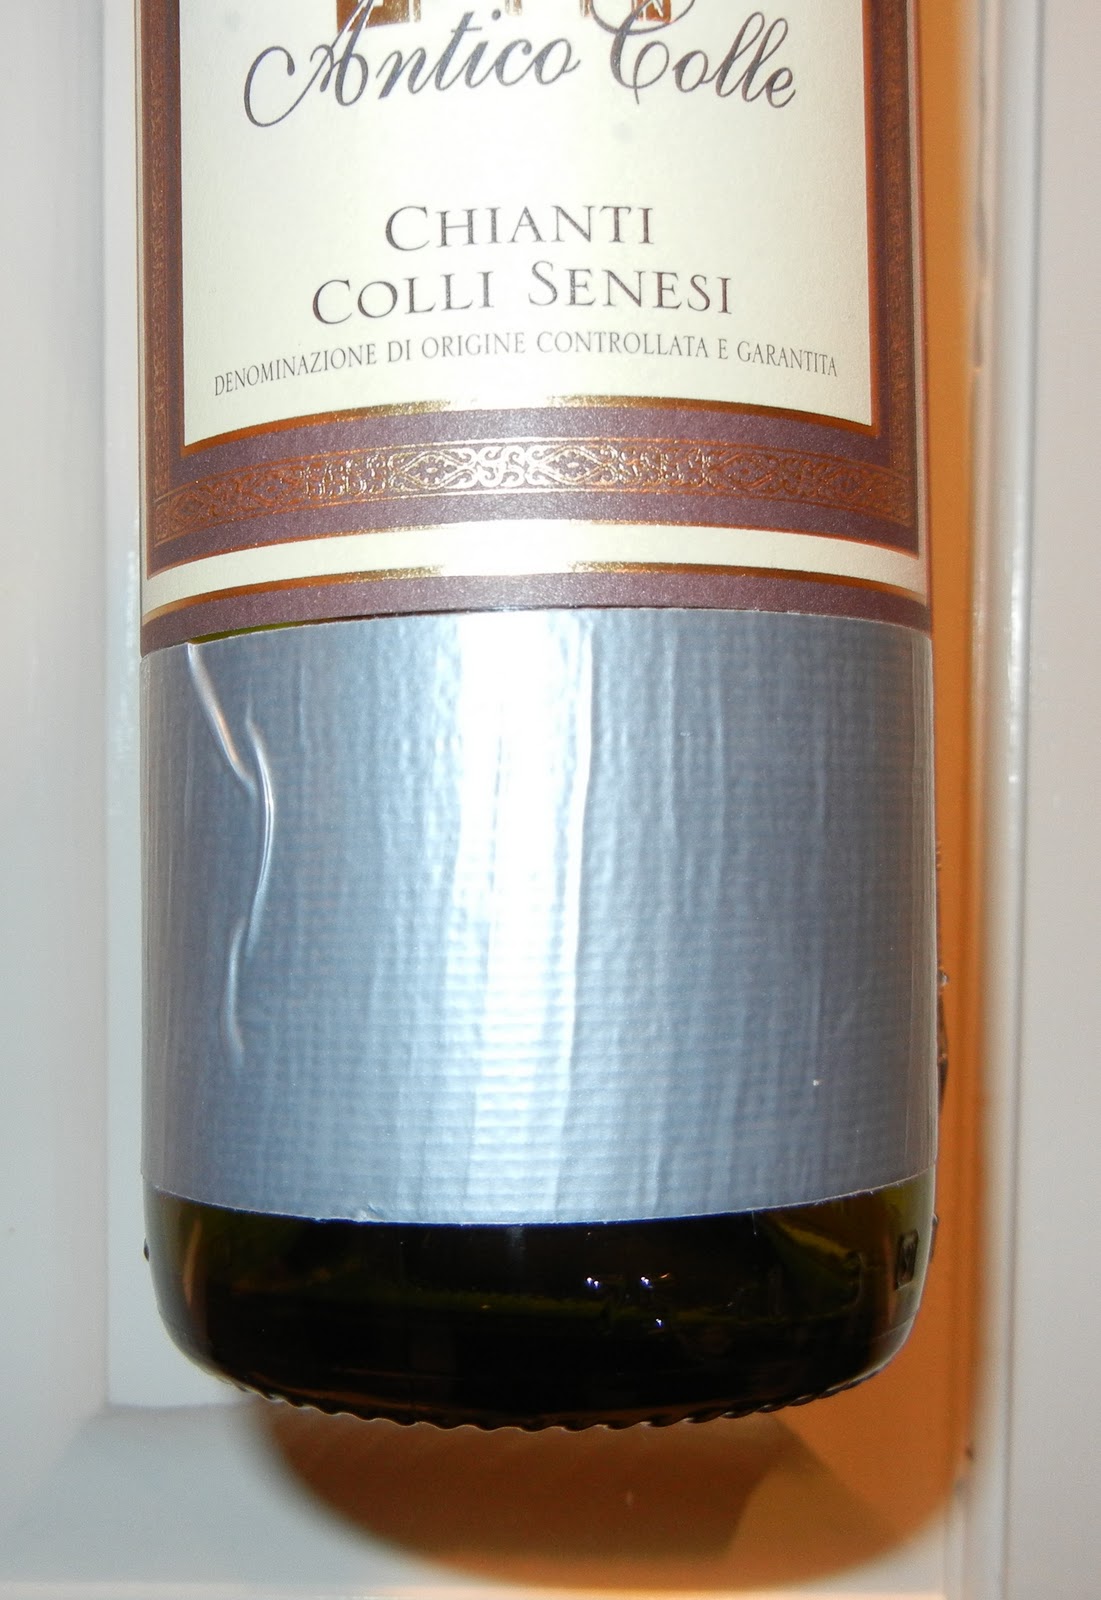
Take the duct tape and using the straight edge, wrap around the bottle where you want to mark with the dremel.
Now, I put on glasses and a face mask to prevent from any glass shards attacking my face. Even though you just want to mark it with the dremel, safety still comes first.
Using the dremel with a diamond bit in, trace your straight edge from the duct tape, around the bottle.

Up until now, Id say is optional. I would try this next part first to see if your bottle breaks without having to dremel. The lighter the color bottle the easier it will break.
Take the yarn and TIGHTLY wrap it around the bottle about 3-5 times where you want the bottle to break. Cutting off the loose ends once knotted.


Once yarn is soaked, slide back onto bottle where you want it broken (where your dremel mark was made)

I used my sink, you can use a bucket, but you need REALLY COLD WATER! Fill it up.
I grabbed the bottle by the neck, held it so the bottom was higher than the neck to prevent from burning my hand (lets stray away from that). Take the lighter, holding the bottle over the water (again... safety measure) and light the acetone soaked yarn.

Once lit, I took the bottle and kept rotating it so it would be equally heated all the way around (not sure if it made a difference). Once you notice that the flame starts to go out, dunk it in the cold water. You should hopefully hear a cracking noise and see the bottom of the bottle break off nice and fairly smooth.

IF, by chance, it does not break off, wipe the bottle off, take the yarn off and try it again. Having the bottle go from hot to cold so quickly is what makes the bottle break. More times you do it, closer your getting to it breaking.
Almost done!
The edges are going to be sharp and whatever your project, It might be best to smooth those out. So, off to home depot I went.
Now, I'm not sure about you but the second I walk into home depot or menards my mind goes into a flurry and I suddenly go into slight panick attack mood cause I have no idea where to go... Guess that's how a guy feels when walking into a salon or Victoria Secret. Thankfully, Home depot always gives such excellent customer service that I was able to get in and get out of there as soon as i could, taking with me...

This was about $2 for a huge roll and i didn't even use a lot of it on 6 bottles. I would prefer this over basic sandpaper because this is a cloth, so the sharp edges aren't going to cut right through it.
Take this, sand those edges, rounding them out enough so you don't cut yourself or others.

For a nice finishing touch, I took an exact-o knife and cleaned up the edges of the neck.


Sorry this image is so blurry.
I'm not sure about you but this opens up a whole new world of projects!
So, have fun, be safe, and stay tuned for my next project. Bet you can't guess what I'm going to use.


P.s. I did not drink all the wine out of these before cutting them.
It helps knowing someone who works at a restaurant where they are just going to recycle them anyways!
{L}
Partying at A Bowl Full of Lemons


Wow, impressive for a first project! And love the disclaimer at the end that you didn't drink all the wine, ha ha! :)
ReplyDelete